Compact MOT type 1: thin layers that actually hold

MOT Type 1 compacts in thin lifts, not one deep heap. UK patio guides use about 50 mm layers, and you check each lift underfoot before you spread the next.
On this page

The bulk bag has tipped and you now have a grey heap where the patio will sit. Raking it flat and jumping on it is the failure mode this page is about. Compact MOT type 1 properly means building density in thin layers, each one checked before the next spread. One thick lift looks level on top while the bottom stays loose, and that loose sub-base shows up later as rocking slabs and puddles.
This guide follows Wickes patio and path instructions, Pavingexpert on sub-base thickness, and moisture notes from buyer experience with hand rammers. Products Compared is not a laboratory and did not invent pass counts or moisture percentages. A qualifying purchase through our links, tag pcuk26-21, can earn a commission at no extra cost to you.
In short
Spread MOT Type 1 in shallow lifts, compact each lift, and only then add depth. Wickes guides describe about 50 mm layers for patio and path sub-bases. Pavingexpert puts 150 mm as the maximum for a single compacted granular lift, because the energy spreads outward and the base stays loose if the lift is too deep. Keep the material damp, not slurry. Use a vibrating plate on the open area and a hand rammer for edges. Before the next lift, walk the surface: it should not move underfoot.
Why the bottom of a thick layer stays loose
Granular sub-base is not a solid block while you build it. A blow or a vibration travels down and outward, and in a deep loose lift much of that energy fades before it reaches the bottom. The surface grains lock first. You can rake a 100 mm or 150 mm heap, compact the crown, and still leave a soft band above the soil.
Tipping the whole bag and levelling the top is tempting. The slabs will bed on day one, then foot traffic, rain, and frost find the voids. Each cycle knits fines into the gaps between larger stones. In a thin lift those cycles reach the full thickness. In a thick lift the upper third may densify while the rest still behaves like loose fill. Raking only moves loose stone; it does not compact it. Pavingexpert's 150 mm figure is a ceiling, not a target. Domestic guides that assume a hand tool or a small plate publish a much thinner layer.
The thicknesses UK guides publish
Wickes, in its patio laying guide, builds a 100 mm sub-base as two 50 mm layers. Its path guide says the same: spread roughly 50 mm, compact with a tamper or plate, then continue. A lift you can see across, rake flat, and run a plate over without sinking in is the practical size.
If the specification says 150 mm total, three 50 mm lifts fit that rhythm. If it says 75 mm, two lifts at roughly 40 mm and 35 mm still beat one at full depth. Mark the depth on stakes or on the inside of the shuttering. It is normal to rake slightly high, because the lift settles as it densifies. Start thin and you can add Type 1. Start thick and you either remove stone or accept a poorly compacted core. Screwfix and other trade-facing guides echo the same spread, compact, repeat.
BS 7533-102:2025, in the preview consulted for this page, refers to proprietary vibrating equipment for unbound layers in formal paving. A garden patio is not a road, and it still inherits the principle: unbound stone needs mechanical compaction in controlled thicknesses. Compact 100 mm in one session only by splitting it into two compacted 50 mm lifts. One loose 100 mm band and ten minutes with a light tamper on the surface is the firm crust this article warns about.
Damp, not slurry
MOT Type 1 contains fines. Too dry, and the particles slide without locking. Too wet, and water holds voids or lets the plate ride on mud. Buyer comments in the earth rammer set say dry material barely moved until moisture was added. A dusty lift eats blows and stays spongy. This page does not quote a moisture percentage. Bags, loose deliveries, and rain all change the mix.
Squeeze a handful from the lift you are about to compact. It should hold a shape briefly without dripping. If it falls apart, sprinkle, rake through, and wait until the water has soaked in. If it smears or sticks to the tools, stop until the surface dries. Sun and wind can dry a lift between the rake and the first pass. A shower can soak an open heap. Cover material that will sit overnight, and judge dampness per lift, because the bottom of the heap is often wetter than the crust.
Hand rammer or plate for this material
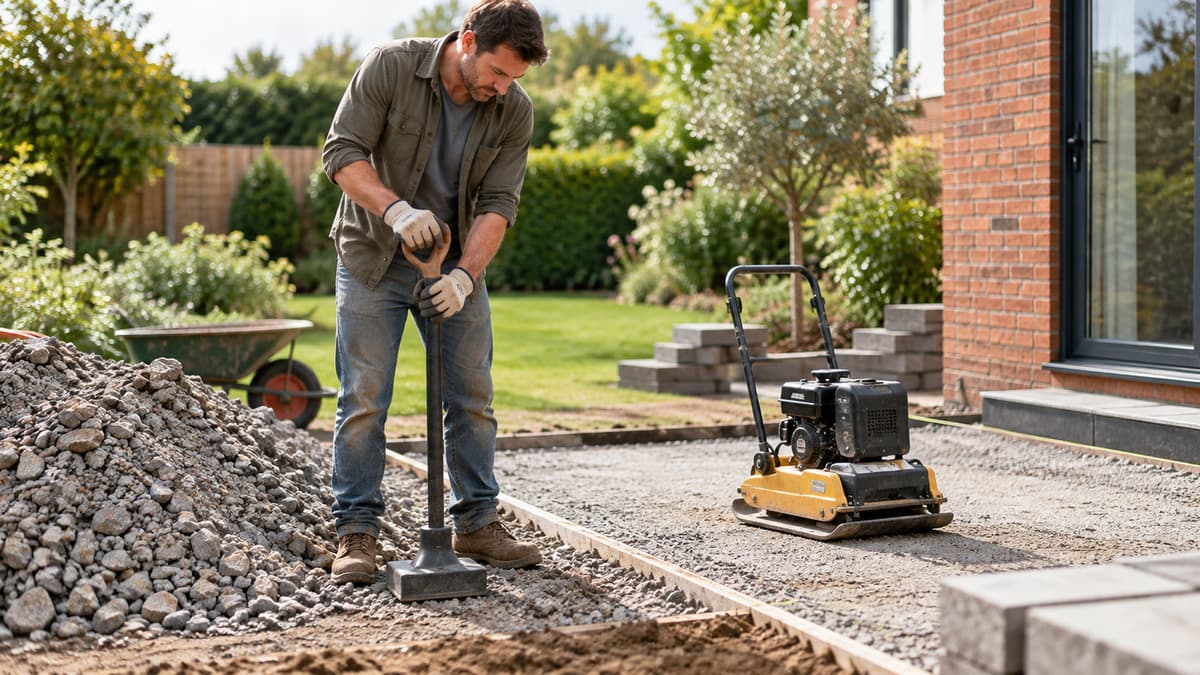
A vibrating plate puts high-frequency vibration across a flat sole, and on an open patio it is the faster way to densify a 50 mm lift. The plate compactor comparison covers petrol versus electric models. A hand rammer suits an edge, a narrow strip, and the ground around a drain cover. It is a weak primary tool for a thick granular lift in the middle of a large area.
Reviewers in the earth rammer comparison who compared a tamper with a hired plate say the plate is faster and more even on a larger open base. The top pick if you are buying is the Roughneck ROU64379 at £45.99: a 200 × 200 mm cast-iron head, a one-piece fibreglass handle, 5.4 kg listed, 4.7 from 754 amazon.co.uk reviews. It suits small patches and edges. For one medium patio, a day's plate hire is often the better spend, with a tamper kept for the last metre against the wall.
Light tampers under about 5 kg are listed for sand and loose stone. MOT Type 1 with fines needs blows that reach through the lift. If the tool bounces, the lift may be too deep, too dry, or both. Read when a hand tamper is not enough before you blame the aggregate. Wear ear protection with a plate, gloves on a tamper, and boots with a firm sole. Keep pets and children off the active lift.
The check before the next lift
Before the next 50 mm, walk the lift slowly. Pavingexpert's test is that the surface does not move underfoot: no crunching sink, no footprint crater. If it moves, rake highs into lows and compact again, or add a little damp stone to a dry hollow. In low sun, shadows in hollows mean you are not ready. The colour should look evenly worked. A spade toe on the edge should meet resistance; a crust breaks into loose aggregate below.
A loose pocket under a firm crust is what leads to patio slabs that sink after winter. Spread the next band only after the lift passes. Rake to rough level, check the markers, adjust moisture, then compact. The last lift has to pass the same test as the first. A thin blinding of sharp sand afterwards is a separate layer. Sand will not stabilise MOT Type 1 that failed the heel test, and mortar will not float on loose hardcore.
If rain is coming, sheet an unfinished lift. A compacted lift can take light rain. A loose lift turns to slurry in the low corner. When you come back, walk the stored surface before you add stone. A lift that moved after a downpour needs rework, not another dump on top.
Common questions
The questions below cover thickness, moisture, and hire versus buy. If you are choosing between a tamper you own and a plate for Saturday, start with hand tamper or a day's plate hire.
Common questions
How thick a layer of MOT Type 1 can I compact?
Can I compact 100 mm of Type 1 in one go with a hand tamper?
Should MOT Type 1 be wet when I compact it?
How do I know the bottom of the lift is compacted?
Is a vibrating plate better than a hand tamper for MOT Type 1?
What is MOT Type 1 anyway?
Do I need exactly 50 mm lifts every time?
When should I hire a plate instead of buying a tamper?

Peter F. is the editor for DIY & tools at productscompared.co.uk. Comparisons in this category are checked against amazon.co.uk listings, review evidence and public UK sources.
Related articles
Hand tamper or a day's plate hire
Whether a £24–£46 hand rammer beats a day's wacker hire for your patio base.

Patio slabs that sink after winter
Tell a thin or loose sub-base from a bedding problem before you relay slabs.

When a hand tamper is not enough
The signs that hand blows will not hold the base, and when to hire a plate.