Cut lining paper straight: a reliable table method
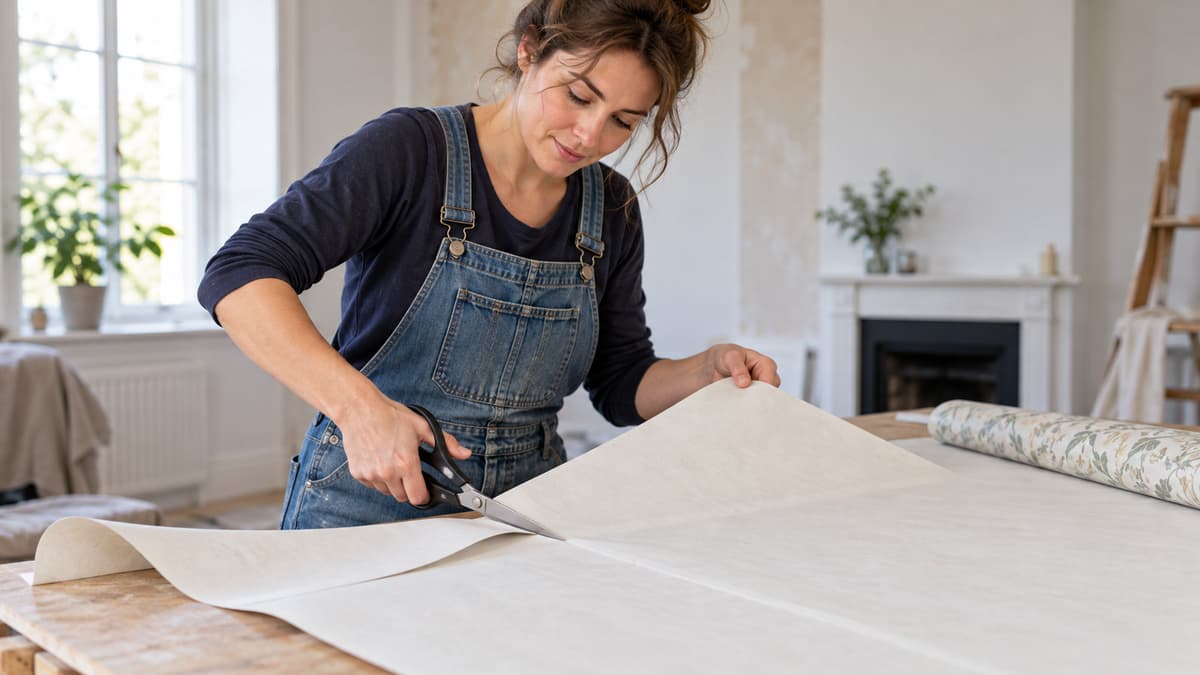
Cut lining paper straight before pasting with accurate measuring, a square pencil line and the right scissors or knife for a clean full-length drop.
On this page

A straight full-length cut starts before the scissors touch the paper. Measure the wall where the drop will hang, add a trimming allowance, square the dry paper on the pasting table and draw a clear line across its reverse. That is how you cut lining paper straight, separate from the crease-and-trim at the ceiling and skirting.
This page is from the Products Compared editorial team. Lengths and prices for the scissors come from amazon.co.uk listings. We did not hang lining paper in a lab. The allowances below are practical rules of thumb.
In short
Cut each dry drop on the table before pasting it. Mark a line square to the paper edge, then follow it with long paperhanging scissors or a sharp knife and a metal straight edge. Allow spare length for the final trim, and re-measure wherever the wall height changes.
Why a straight table cut matters
Lining paper has no pattern to hide a bad end. An angled cut can leave too little paper at one side of the ceiling or skirting, so you pull the drop out of line, accept a gap, or throw it away. The straight cut keeps an even trimming allowance across the width.
Leave the factory side edges alone when an end is crooked. Those edges form the joints, and a narrowed drop can show through paint or a fine wallcovering. Fix the end instead. The dry table cut sets the length. Creasing into the ceiling or skirting, then trimming the excess, comes after hanging.
Tools for a straight cut
You need a tape measure, a sharp pencil, a clean pasting table and a ruler or straight edge that spans the paper. A try square helps for a true 90-degree line, but a square table end is enough if the paper is aligned. Keep paste off the table for this dry cut.
Scissors around 275–300 mm overall are easier to guide across a broad sheet than short kitchen scissors. The number on the pack may be the whole tool, rather than the cutting edge. Check that the tips meet, the pivot is steady, and an offcut cuts cleanly.
Our wallpapering scissors comparison sets out the lengths and handles. The Draper Expert 300 mm wallpaper scissors are listed on amazon.co.uk at about £10.63, at 145 g, with polished stainless blades, ABS handles and a right-hand listing.
The title says 300 mm. One reviewer reports 295 mm on the packaging and a cutting length of 125 mm, so compare those figures. The listing shows 4.6 from 305 reviews, and that pool includes comments about other jobs. A qualifying purchase can earn us a commission at no extra cost to you.
A knife can make a crisp line on dry paper against metal, and it needs a cutting mat or sacrificial board. Which tool suits you depends on the paper and your control. The scissors versus knife guide sets that out.
Never cut into the pasting-table surface, and keep your free hand behind the blade.
Measure and mark the drop
Measure from the ceiling line to the top of the skirting where that drop will hang. An estate-agent plan, or one reading beside the door, misses a drifted ceiling or floor. That small change can use up the allowance.
About 100 mm in total is a useful start on an even wall. Some jobs need 50–100 mm at each end. More spare helps a sloping ceiling, and it also uses more paper and makes a pasted drop awkward. If the roll is tight, count the drops first.
Unroll the paper face-down and mark the reverse, with one factory edge parallel to the table. Measure both long edges from the same starting end, because the roll end is often out of square. Place two light pencil marks and join them. Mark the top with a small T, number the drops, and check both sides again. Heavy pencil can show through a thin finish.
How to cut lining paper straight
Support the line near the table end, with the paper flat. If roll memory lifts it, loosely reverse-roll a short section and let it relax. Pinning the sheet can crease the face. Then follow this sequence.
- Align a factory edge with the table, confirm the pencil line crosses the width, and keep the offcut from dragging the sheet.
- Pick scissors or a knife first, and test an offcut. Changing tool halfway across leaves a step.
- Cut on the waste side of the line, and keep the sheet flat.
- A tiny feather can come off. Repeated snips usually worsen the end. Both corners should still hold the planned length.
- Stack the drop flat, label it, and keep it dry until you paste.
Cutting with paperhanging scissors
Place the lower blade under the paper and follow the pencil line with long, calm closures. Overlap each closure slightly so you leave no notch. Move along the table so your forearm stays on the mark. Turning your wrist arcs the tip, which is why a cut often starts true and wanders in the last third.
Long shears help on a full width only when they feel manageable and the pivot does not push the sheet. The guide to scissors for long drops is for choosing a dedicated pair. This page is the dry table cut for lining paper, before paste. Trimming a hung drop is a later job.
Cutting with a knife and straight edge
Put a cutting mat under the whole line and hold a metal straight edge on the side you are keeping. Use a fresh blade, moving away from your body. Several light passes are safer than forcing a blunt one. Sawing leaves fibres and a wavy edge.
A plastic ruler lets the blade climb into the edge. Keep your fingertips off the path. A knife suits this dry cut. Scissors are more forgiving once the paper is damp. Neither tool corrects a line marked out of square.
Template or measure each drop?
Plain lining paper can be a template, because there is no pattern repeat. Once the first drop is measured, cut and checked on the wall, align the factory edges and ends, then mark the next length. Keep the knife off the first drop. One slip ruins both, and repeated contact can shorten the template.
Use that shortcut only when several measurements sit inside your allowance. A sloping ceiling, a rising skirting, or a boxed section means you measure and label each drop where it will hang. On a large room, sketch the heights and cut a batch.
Mistakes that spoil the cut
The usual error is cutting to the table edge before the paper is parallel with it. A roll creeps sideways as you unroll it, so a line square to the furniture can sit skewed on the sheet. Align a factory edge first, and mark two points on the paper.
Short household or dressmaking scissors may cut an offcut and still wander across a full width, because every short closure can change direction. For several rooms, use the wallpapering scissors buying guide to judge blade, pivot and handle.
Measure this cut while the paper is still dry. Moisture makes it soft, hard to mark and easy to stretch, and paste on the handle weakens your grip. Cut the full drops, then paste them. Wet cutting belongs to fitting and trimming.
You trim this end after hanging. Keep it square enough to hold the allowance. Redraw a badly wrong line a little shorter while spare length remains. If the drop would then be short, save it for over a door.
What to do after cutting
Keep the drops flat, or loosely rolled, in hanging order. Paste evenly, following the paper and adhesive instructions, fold without a sharp crease on the face, and allow any soaking time they specify. On the wall, smooth the drop and make the separate ceiling-and-skirting trim. The on-wall trimming guide covers that.
Wipe paste off the scissors with warm soapy water and dry them before storage. Close or sheath the blades, and keep knives retracted. Cutting lining paper on the table is normally a DIY job. Badly uneven walls, fragile specialist papers, or work over a stairwell are when an experienced decorator is the sensible choice.
Common questions
Should I cut lining paper with scissors or a knife?
How much extra length should I add to lining paper?
Do I cut lining paper before or after pasting?
Can I use normal household scissors for lining paper?
How do I stop a long cut from wandering?
Can I use the first lining-paper length as a template?
Which side of lining paper should I mark?

Products Compared publishes British-English buying guides based on amazon.co.uk listings and public UK sources. We do not run a lab and we do not invent test scores.
Related articles

Cutting wallpaper around sockets with scissors
Learn how to isolate the circuit, make controlled relief cuts and trim neatly around a UK socket faceplate.

What wallpaper scissors cost in the UK
See what different price bands buy and which features matter more than a higher shelf price.

How to clean wallpaper scissors
Remove paste before it dries, protect the pivot and store your paperhanging scissors safely.