How to install a pop-up sprinkler
You have chosen the heads, the pipe is still coiled in the shed, and the lawn looks too good to dig twice. How to install a pop-up sprinkler is a surface-first sequence: mark head-to-head spacing, assemble and flush on the grass, adjust arcs, then trench about 20–25 cm with low-point drains before you put the turf back. The [pop-up sprinkler comparison](/hub/garden-watering/pop-up-sprinkler) lists the amazon.co.uk heads. Sequence notes follow Gardena UK Sprinklersystem installation advice and UK merchant set-up guides. We did not dig a demo lawn. A qualifying amazon.co.uk purchase can earn a commission at no extra cost to you.
You have chosen the heads, the pipe is still coiled in the shed, and the lawn looks too good to dig twice.
You have chosen the heads, the pipe is still coiled in the shed, and the lawn looks too good to dig twice. How to install a pop-up sprinkler is a surface-first sequence: mark head-to-head spacing, assemble and flush on the grass, adjust arcs, then trench about 20–25 cm with low-point drains before you put the turf back. The pop-up sprinkler comparison lists the amazon.co.uk heads. Sequence notes follow Gardena UK Sprinklersystem installation advice and UK merchant set-up guides. We did not dig a demo lawn. A qualifying amazon.co.uk purchase can earn a commission at no extra cost to you.
Our top picks
| Badge | Product | Type | Ecosystem | Pack size | Note | Price | Offer |
|---|---|---|---|---|---|---|---|
| Best overall |  Rain Bird Rain Bird 32SA gear-drive rotor 4-pack | Gear-drive rotor pop-up | Threaded in-ground (Rain Bird) | 4 | 9.4 | about £35.00 | View offer |
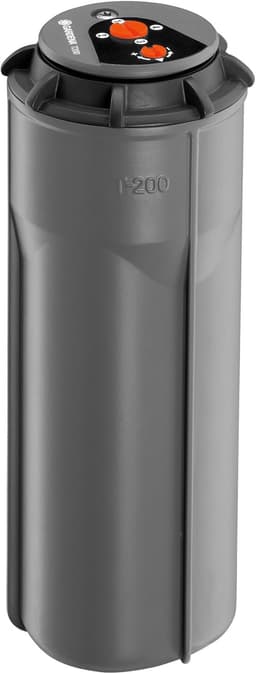
| Alternative |  Gardena Gardena T 200 turbo pop-up | Turbo-driven rotor (T 200) | Gardena Sprinklersystem | 1 | 9.3 | about £29.99 | View offer |
| Best value |  Gardena Gardena SD30 spray pop-up | Spray pop-up (SD30) | Gardena Sprinklersystem | 1 | 8.6 | about £11.32 | View offer |


On this page
Plan head-to-head before you dig
Assemble, flush, and adjust on the surface
Dig, set flush, and protect from frost
First weeks and common faults
Common questions
Do I test on the surface first?
How do I flush grit out?
Where do drain valves go?
How far apart should heads be?
When do I adjust arc and radius?
Related pages
Sources
Public UK sources for install practice, backflow rules and temporary use bans. amazon.co.uk prices, stars and review counts are the saved listing lines for these seven products. Last reviewed 22 October 2026.
- Garden Watering, pop-up systems guide (retrieved 22 October 2026)
- Gardena UK, Sprinklersystem installation (retrieved 22 October 2026)
- Access Irrigation, lawn watering kits (retrieved 22 October 2026)
- Access Irrigation, water regulations (retrieved 22 October 2026)
- Water Supply (Water Fittings) Regulations 1999, Schedule 2 paragraph 15 (retrieved 22 October 2026)
- Essex & Suffolk Water, Temporary Use Ban (retrieved 22 October 2026)
- Thames Water, hosepipe ban FAQs (retrieved 22 October 2026)
- Easy Garden Irrigation, watering during a hosepipe ban (retrieved 22 October 2026)